On a more recent timeline, system restoration and the process of using it has remained mostly the same from Windows 10 to 11. You can still access this feature via the Control Panel, or winRE. Of course, if you’ve never used system restore before, you may not know the details of these methods. So, in this article, we’ll go over how to enable System Restore, how to create System Restore points, and finally, various ways to use said restore points on Windows 11.
Enable System Restore on Windows 11
System Restore is generally disabled after an upgrade. There are exceptions to this, but in most cases, recently upgraded users will need to manually enable this feature when using it for the first time. Here’s how you can do so:
Create System Restore Points on Windows 11
After enabling System Restore, restore points are created at a week’s interval or when the system detects significant changes to apps or drivers. We’ve detailed how you can change the frequency of automatic restore point creation further in the guide, but you can also just create system restore points manually when appropriate. Here are the steps to do so:
Ways to Use System Restore on Windows 11
A system restore point takes a snapshot of your system state, i.e., the settings, updates, drivers, apps, etc. If you encounter any system errors in the future, you can revert to a stable state using a recent restore point. In the sections below, we’ve listed the two most common ways to use this feature.
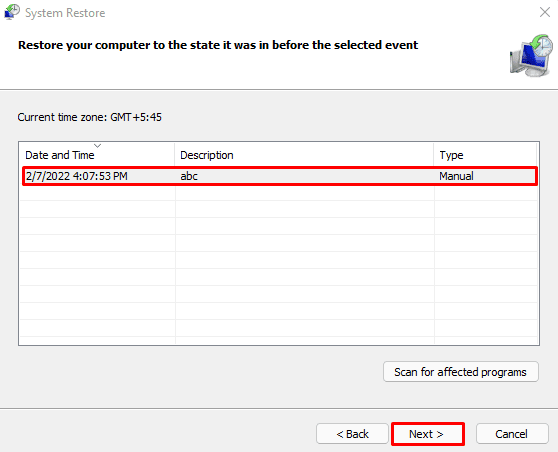
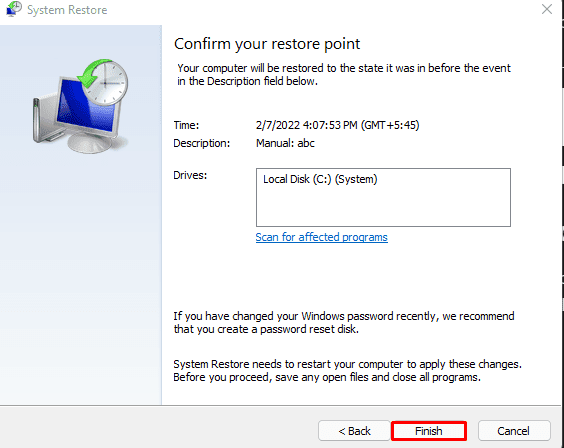
Via Live Environment (Desktop)
Here are the steps to use a System Restore point via the desktop: If the system restore fails or causes some new issue, you can undo the changes with the following steps:
Via winRE
If you’re encountering a BSOD, stuck in a restart loop, or facing similar booting issues, your PC may not boot at all. In such cases, you can perform a system restore via the Windows Recovery Environment (winRE). Here are the steps to do so:
How to Change System Restore Point Creation Frequency?
You can accomplish this via the Registry Editor or the Task Scheduler. For the first method, we recommend backing up the registry before following the steps listed below: If you’d prefer to create a system restore point at every startup or something similar, the Task Scheduler method may be a better fit: