There are several ways to take a screenshot on your HP laptop. In this how-to guide, we will give you step-by-step instructions on different ways you can capture your screen on your Windows computer.
Take a Screenshot of the entire screen
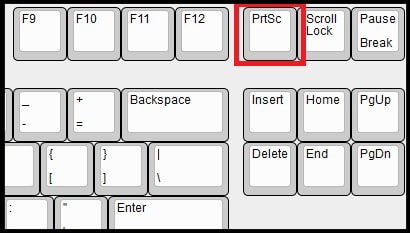
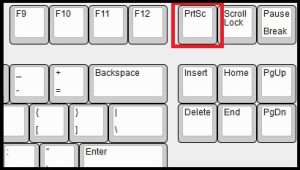
This is the easiest method in taking a screenshot. Only a few keystrokes and Voilà!, you have a screen capture. Step 1. Navigate your keyboard to find the PrtScn key. PrtScn or PrtSc, which are short for Print Screen, is located along the top row keys and after the function (F1 through F12) keys. Hit the PrtScn key. Windows will capture the entire screen and copy it to the clipboard. Step 2. To use the captured image, you can paste it online or in an application. Hold down the Ctrl key and press V to paste a screenshot in a browser or application window.
Capture a Single Window Snapshot
In Windows, you can capture a screenshot of an active window instead of the entire screen. This feature is beneficial when you may not want to share or display unnecessary information, privacy reason or otherwise. Step 1. Hold down the Alt key and press PrtScn. There are usually two Alt keys on a typical keyboard. You can locate the Alt keys on the bottom and either side of the Spacebar key. Microsoft Windows will take a shot of the window you are currently working and copy it to the clipboard. Step 2. If you want to use the screenshot, you can paste it online or in an application. To do so, hold down the Ctrl key and hit V.
Take a Shot of a specific area on the screen
Sometimes we want to capture a partial area within an application window. Windows has an answer for that as well. Step 1. Hold down the Windows (⊞) key, the Shift key, and hit S. The entire screen gets translucent or foggy, and the mouse pointer is transformed into a + sign. Step 2. Left click your mouse, and drag it over the region you want to capture. The selected area will be non-translucent. Once done, let go of the button. Windows will copy the selected area to the clipboard. If you want to cancel the screen capture operation, just hit the Esc key on the top left of your keyboard. Step 3. To transfer the screenshot to an application or an online page, hold down the Ctrl key and press V.
Edit a screenshot and save with MS Paint
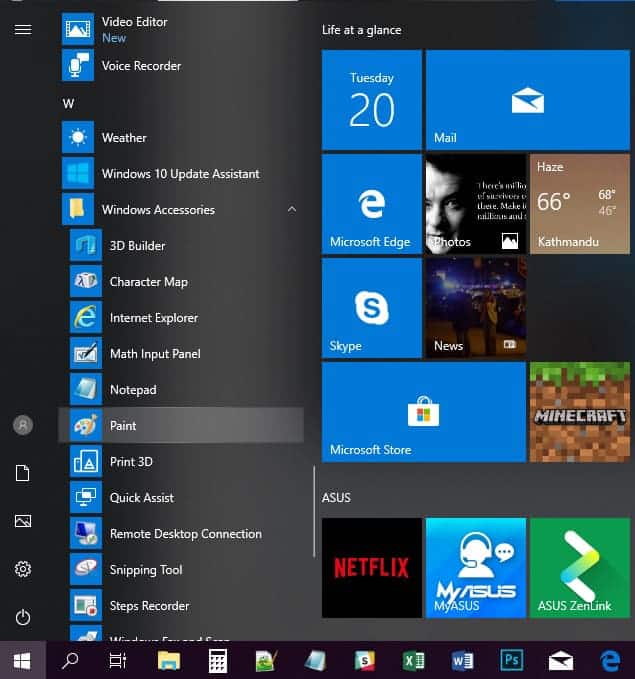
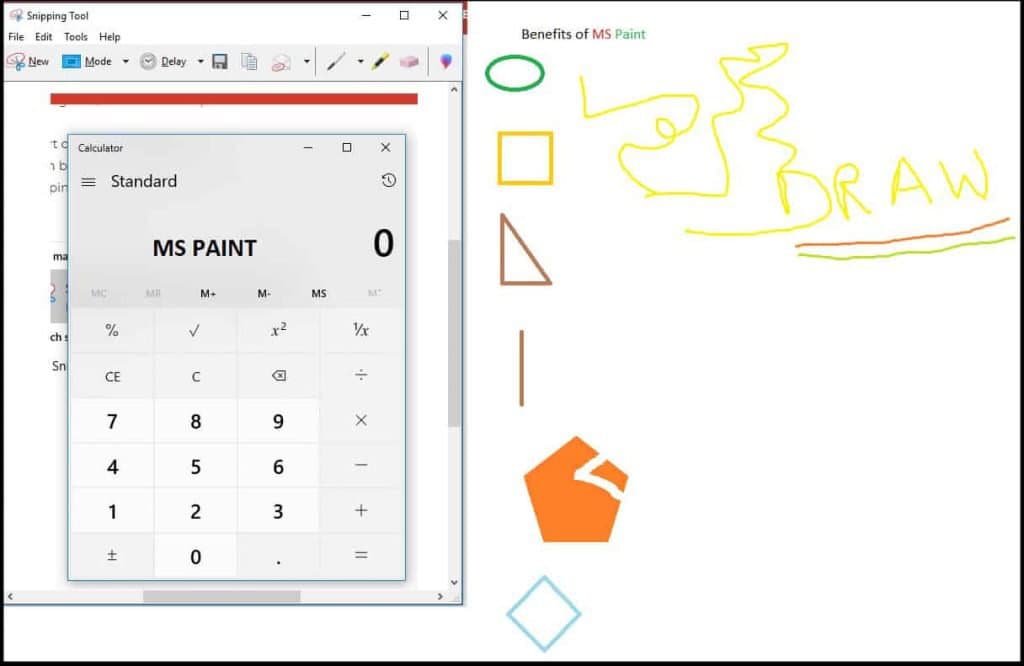
We can use the MS Paint application to save the captured screen image. MS Paint is a powerful tool to edit a picture file. Step 1. Take a screenshot by utilizing any of the methods detailed above. Step 2. Open the MS Paint program. You can press the Windows (⊞) key, type “paint,” and click Paint from the search result. Alternatively, you can naviate the Recently added program list from the start menu by hitting the Windows key. MS Paint is found under Windows Accessories. Step 3. To paste the captured screenshot in MS Paint window, hold down the Ctrl key and press V. Alternatively, you can click the Paste icon on the toolbar. Step 4. There are many tools to choose from within the MicroSoft Paint. You can crop, resize, or rotate the captured screen image. Furthermore, you can add text, draw a sketch, change color, or even pick a color from within a screenshot field and apply it to other parts in the image. Step 5. To save your file in MS Paint, click the Save icon on the top-left above the menu bar. Alternatively, you can hold down the Ctrl key and press S.
Screenshot and Save it in a file in one step
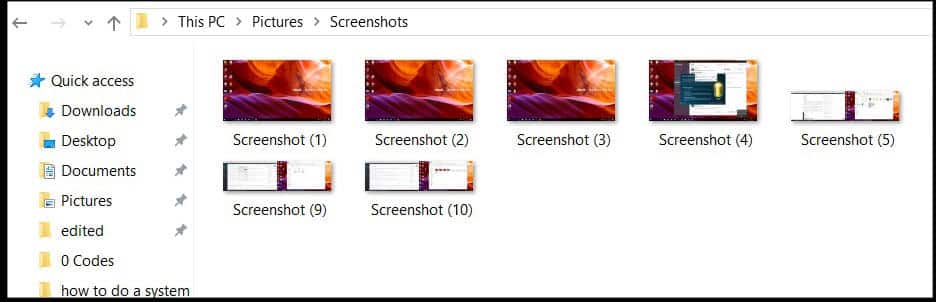
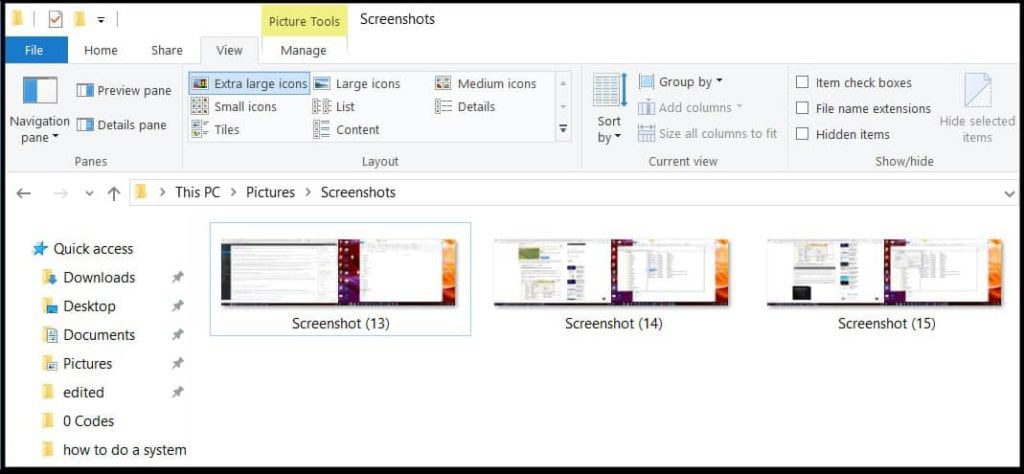
Sometimes, you just want to capture the entire screen and have it automatically saved in a picture file. For instance, if the help desk asks you to send the screenshot of your computer as an attachment in an email, you can use this method and have a screen capture file ready for export in just a few keystrokes. Step 1. Press the Windows (⊞) key and without letting go of the key, hit the PrtScn key. You will notice a brief camera shot effect while the Windows takes the screenshot and saves the screen capture to a file. The file is saved in the Screenshots folder which is inside the Pictures folder. The captured files are saved with “Screenshot (x).PNG” filename format, where ‘x’ is an integer number starting from 1. To locate the Screenshots folder, click the Windows (⊞) key, type “screenshots,” and select Screenshots folder from the search list.
Reset Screenshot Filename Index
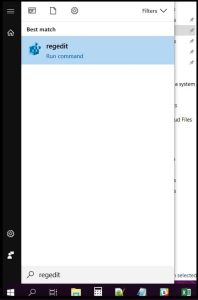
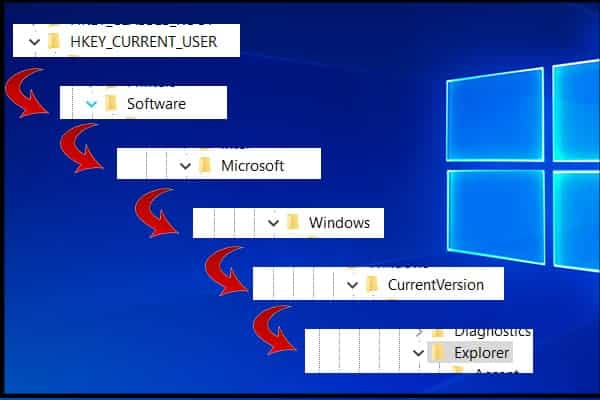
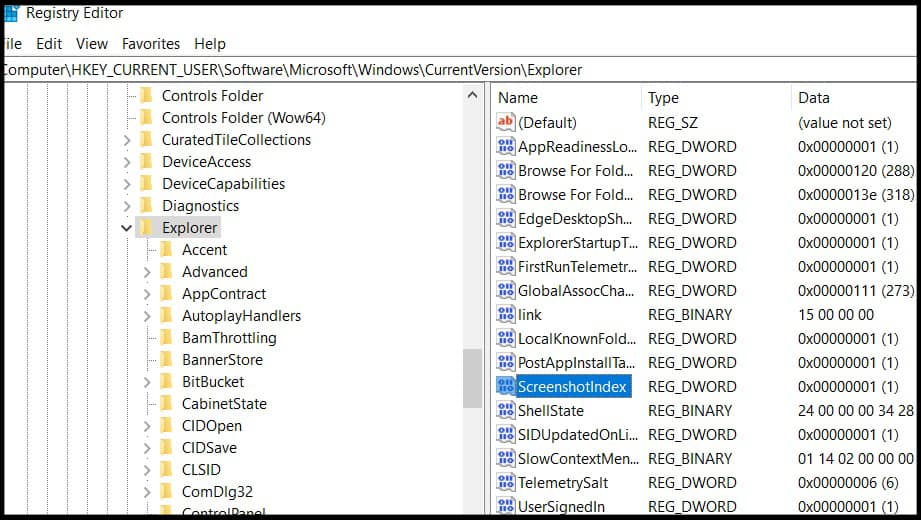
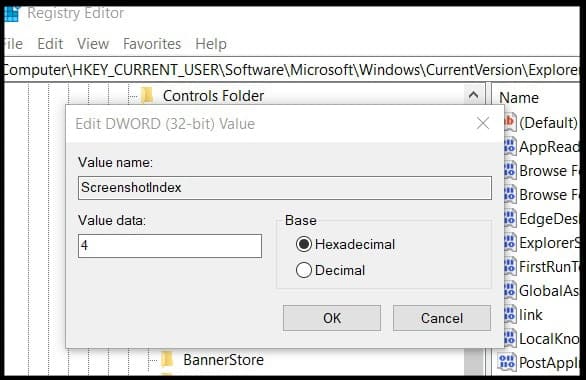
Windows does not automatically reset the screenshot filename index. For example, you empty the Screenshots folder, and take a new screen capture, the new filename will continue with the next iteration of the number. To reset the filename back to “Screenshot (1).PNG,” you can follow the steps below. You can also change the filename index to begin from a random number. Step 1. Hold down the Windows (⊞) key and press R to open the Run window. Type “regedit” to execute Registry Editor system tool. Step 2. On the Regisry Editor folder column on the left, click the folder names in the following order. Step 3. Under the Name column, find ScreenshotIndex, and double click it. Step 4. In the Edit DWORD window, You will find the next integer number for the screenshot filename in the Value data field. By default, Windows use Hexadecimal or Base-16 number for the Screenshot filenames. If you’d like to change it to a Decimal value, click the radio button next to Decimal. You can reset the filename number field back to 1 or specify a different number. Tap OK to complete. To remove any ambiguity with the duplicate filenames, Windows skips the numbers already used in the filenames present in the Screenshots folder.
Capture a single Window and Save it in a file in one go
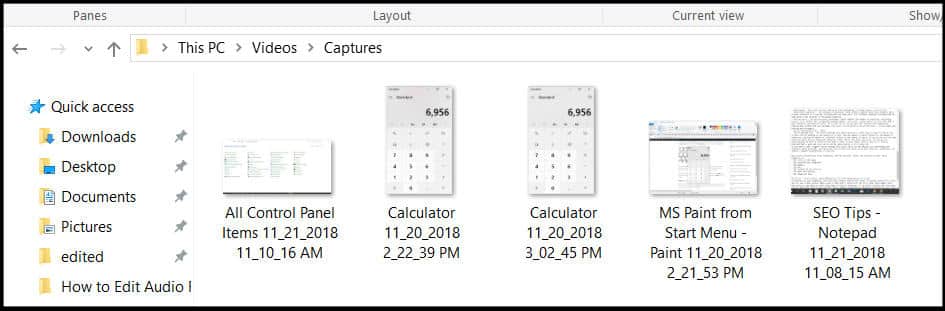
We can screen capture an active window and have Windows save it automatically in a pic file. We can use this method to avoid any unnecessary info in other windows being captured. Step 1. Hold the Alt key and the Windows (⊞) key, and then tap the PrtScn key. Windows will instantly save the captured shot of the active window in a PNG file inside the Captures folder. The Captures folder is inside the Videos folder. To locate the Captures folder, click the Windows (⊞) key, type “captures,” and select Captures folder from the search list. Windows will automatically name the captured files by utilizing the active application name along with the date and time the screenshot was taken.
Difference between Screenshot & Save the entire screen and just an Active Window
Captures the entire screen Filenames are of “Screenshot (x)” format Will take a screenshot of any window, including the File Explorer
Takes a shot of a single active window Filenames are constructed with the active window application name along with the date and time of screenshot Does not take a screenshot of the File Explorer window
Use Windows Ink Screen Sketch Workspace
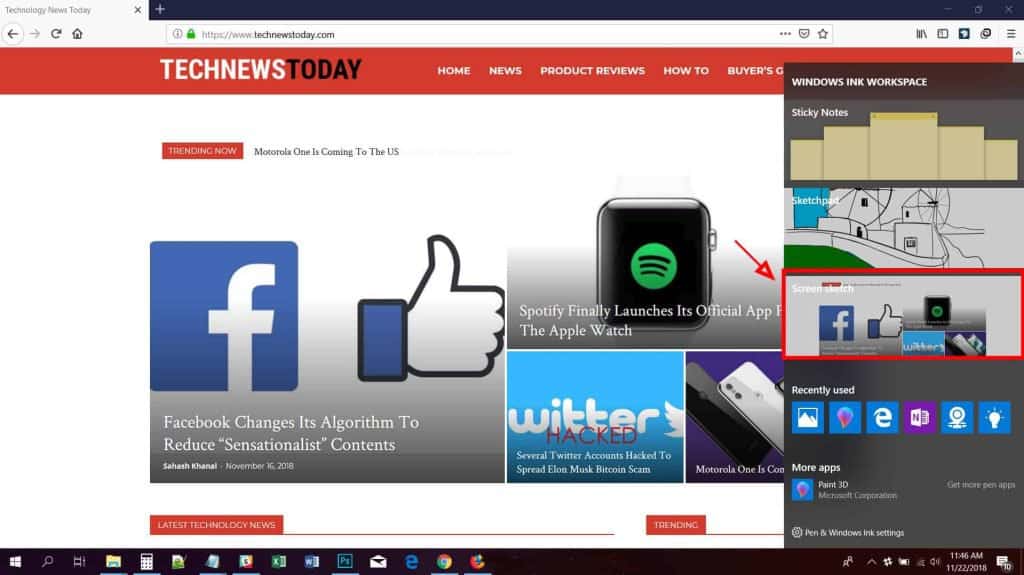
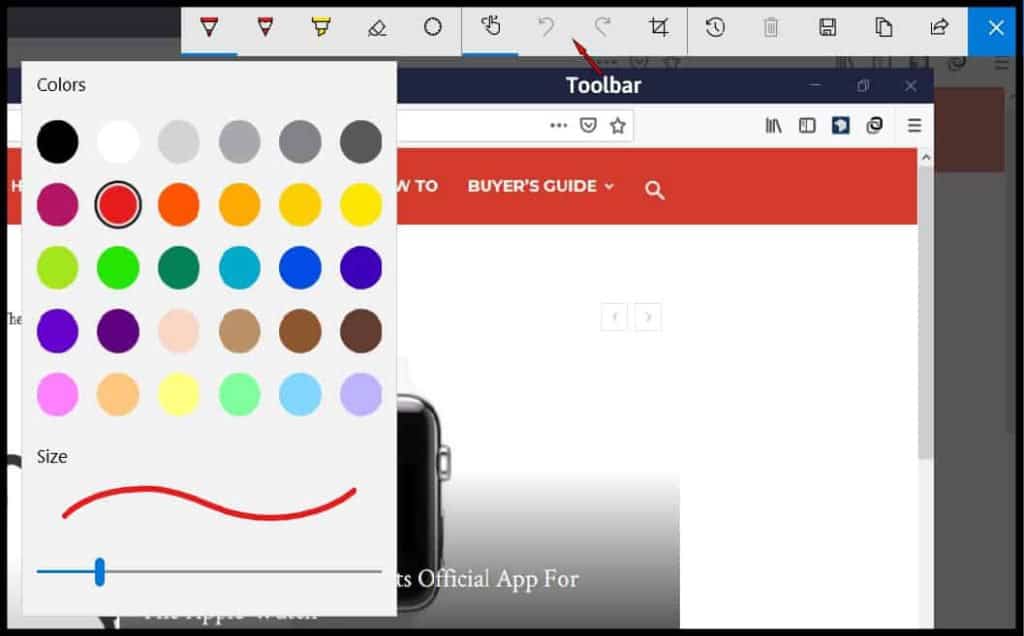
Not many people know about this convenient tool that’s included with Windows. We can take a screenshot of the entire screen and edit using the Screen Sketch within the Windows Ink. Step 1. Hold down the Windows (⊞) key and press W. Step 2. Windows Ink Workspace window will appear on the right side. You can see a thumbnail of the screen captured as the background for Screen Sketch. Click anywhere on the thumbnail. Step 3. Screen Sketch window will open with the captured screen. You can edit the image using the tools on the top right of the window. Among the tools are Ballpoint-pen, Pencil, Highlighter, Ruler, Protractor, and Eraser. Furthermore, you can crop an area, save, or share the file. Step 4. Once you are satisfied with the screenshot, Click Save As from the Toolbar to save it in a file.
Use Microsoft Snipping Tool to save a Screen Area
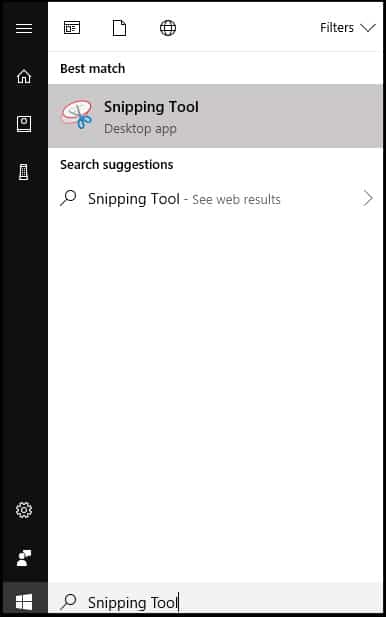
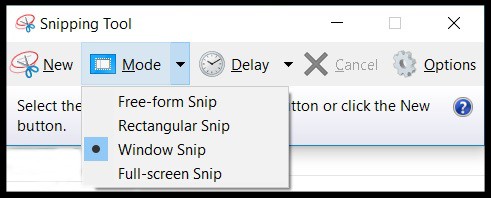
Microsoft has a preinstalled all-in-one tool for taking a screenshot. MS Snipping tool is easy and intuitive to use. You are not limited to the rectangular screen capture when using this little program. Furthermore, you can draw a figure or text, and highlight or erase a screen area. Step 1. Press the Windows (⊞) key. Type “snipping tool and select Snipping Tool from the search list. Step 2. The default mode is Rectangular Snip. If you want to screen capture using a different mode, click Mode, and select a mode from the drop-down list. Hit New when ready.
Four Modes of Snipping Tool
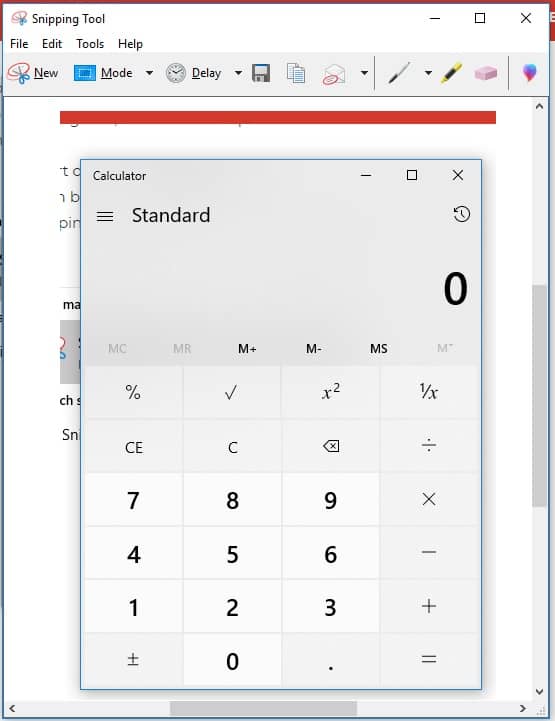
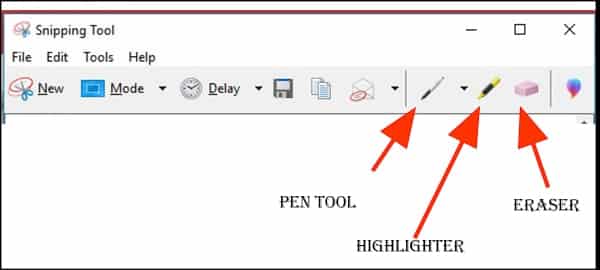
Step 3. Except for the Full-screen Snip, you get to choose the screen area or application window to capture. The screen will turn translucent and you can select a screen area with your mouse. When you let go of the left mouse button, the Snipping Tool window is opened with the captured screen area. You can edit the captured screen image within the Snipping Tool Window. Besides, you can use the Pen Tool to draw a sketch or text. Similarly, you can erase any area you don’t like or highlight an important part using the respective tools on the toolbar. If you need more tools to edit the screen capture, then you can click Edit with Paint 3D icon on the toolbar. MS Paint 3D program will open with your working screenshot file. You can do a lot more editing with the Paint program. Step 4. Once satisfied with the editing of a screenshot, you can save it in a file by clicking the save icon on the menu bar. Alternatively, you can click File on the menu bar and select Save As. Windows shortcut to save a document is pressing Ctrl and S keys. Choose the destination folder to save the file and click Save.
Lightshot Addon Tool for Screenshots
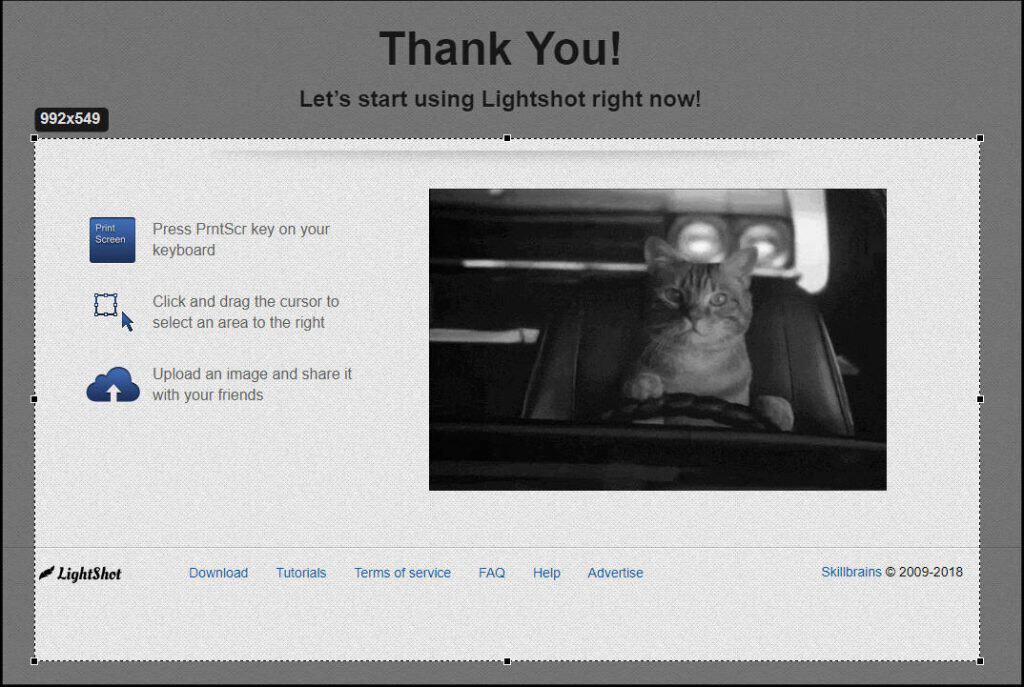
Lightshot is a nice little third-party addon tool to take and edit screenshots. Step 1. Download and install Lightshot program on your computer. Step 2. Press the PRT SCN key on your keyboard. With Lightshot installed, your computer screen will go dim. Step 3. Now click and drag the cursor to select a screen area using the left mouse button. Step 4. You will find some editing tools on the right side of the selected screen window. You can add text, use pen tool, highlight with a marker tool, change color, and draw line, arrow, or rectangle. On the bottom right side, there are options like Save, Copy, Print, Share, Cloud Storage, and Close Lightshot. Step 5. To save the screenshot, select Save from the file menu. Alternatively, you can hold down the Ctrl key and press S. Locate the destination folder and hit Save.
Screenshotting with ShareX Application
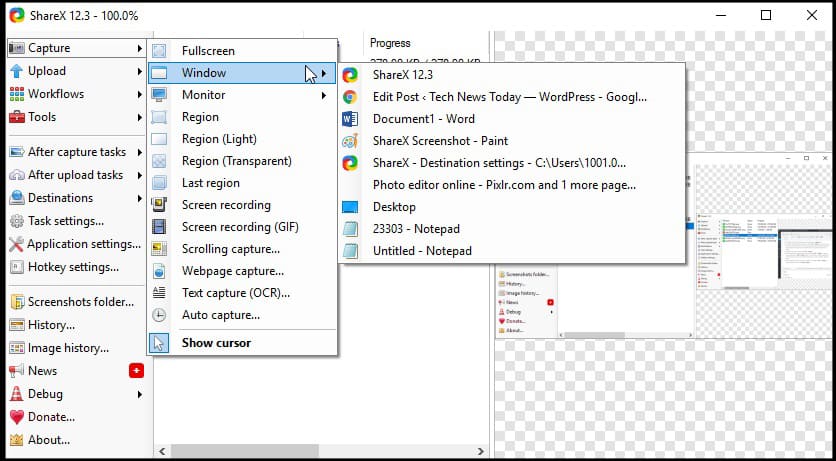
ShareX is a more versatile 3rd party desktop application. It can capture still screenshots as well as a video or GIF of a screen area. Step 1. Download and install ShareX program on your computer. Step 2. Open the ShareX application. You have several screen capture options to choose from. Click Capture to select the screenshot sub-menu.
ShareX Screen Capture Options
Disable Upload in ShareX
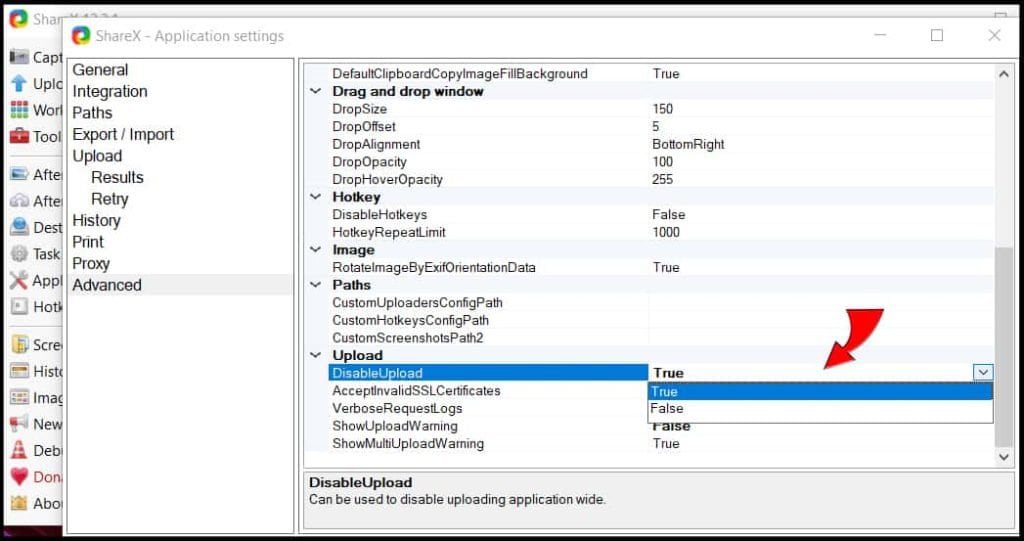
If you do not like your screenshot files to be saved online automatically, you can disable upload in ShareX. With Auto Upload disabled, screenshot files are save in your local computer.