You can trigger this BSOD crash manually. However, in some scenarios, it can occur without your intervention. It happens if you install an incompatible hardware device or Windows is installing the system or driver software when your system has the errors we mentioned earlier. So, let’s take an exact look at how those issues occur and what you can do to troubleshoot them.
Causes for NMI Hardware Failure Blue Screen (BSOD) Error
Fixes for NMI Hardware Failure Blue Screen (BSOD) Error
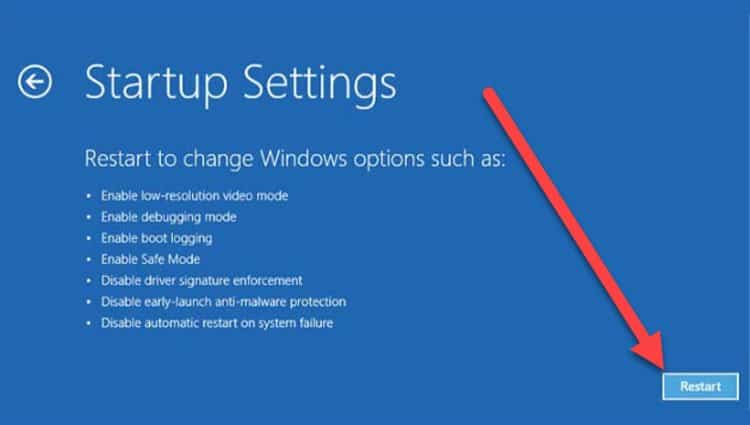
Below mentioned are the possible solutions for this BSOD error. Some of the solutions require you to log in to your account. If you get stuck in a BSOD loop, you need to go to Advanced Startup Options and boot your PC in safe mode to try to log in.
Incompatible or damaged hardware devices.Pressing the NMI switch.Faulty or outdated drivers or os.Incompatible or out-of-date BIOS.Overclocking of CPU or GPU.Improper voltage on the RAM.Defective RAM.
If the solution uses the command line or Run commands, you can enter those on the Advanced Startup’s Command Prompt. To get to the Advanced Startup,
Remove External Hardware
If you are experiencing this error after connecting external hardware to your laptop, the device is likely not compatible with your system. In such cases, the device can bring about data corruption issues on the system and peripheral buses. So, you need to remove any external device (except important ones like keyboard and mouse) and check if you still get the BSOD crash. If you don’t the device is definitely at fault. Try updating the drivers of the device or reinstalling them from the official website. If the error reoccurs, you need to replace it with a compatible device.
Check NMI Switch
Some computers also have a physical NMI switch. Manufacturers and technical personnel use this switch to debug any hardware issues by forcing a system crash and then checking the dump files. However, it is possible that the circuit for the switch has some issues or is close to an exposed wire which unnecessarily triggers the switch. So, we recommend you check for such issues on your PC setup.
Update and Reinstall Drivers
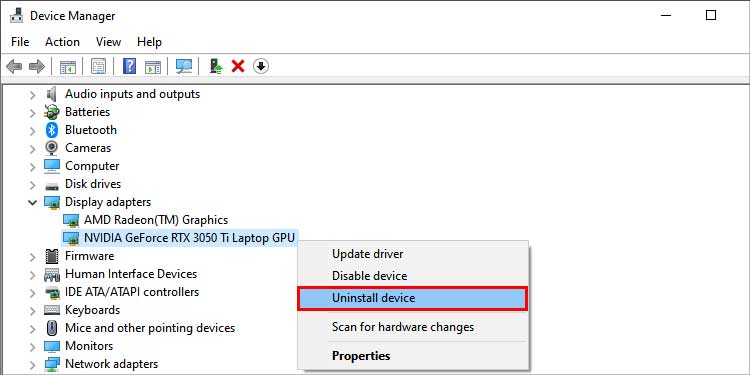
The hardware failure may be a result of incompatible or outdated drivers rather than physical damage. So, you should update all your drivers, especially graphics drivers as such drivers are responsible for most cases of NMI hardware failure. You should also update your chipset and motherboard drivers. Follow the instructions below to update the drivers: If you have the latest version of the graphics driver or hardware you just installed, you can try reinstalling them. We don’t recommend reinstalling all drivers before you have narrowed down the culprit by analyzing the crash dump file. To reinstall the driver,
Update Windows
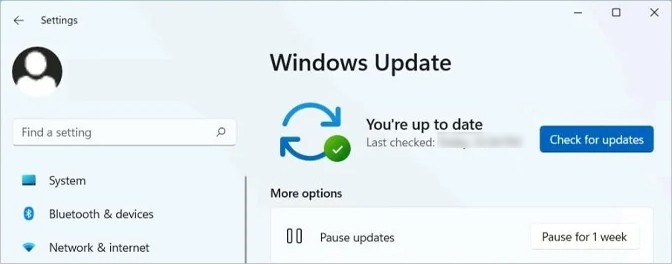
Windows kernel errors can also cause NMI hardware failure BSOD error. If the kernel experiences any lockups (looping for a long time without giving any other tasks), the watchdog sends an NMI timer signal that forcibly restarts your system. If you are running an older Windows version, you need to update it as soon as possible to prevent such issues. You can use the Windows Settings to update your system using the steps below: You can also use the Update Assistant to update your system. To do so,
Check Disk Health
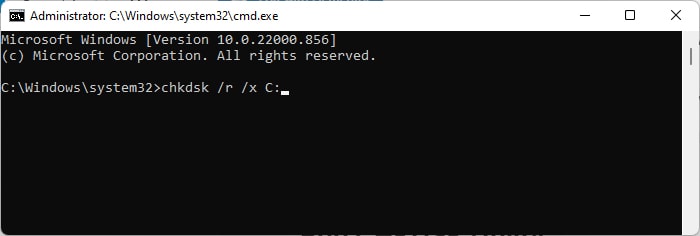
You should also check the health of your disk in case it’s failing. First, try running the CHKDSK command to scan and repair corrupt sectors. To do so, This utility should repair most corrupt sectors. However, if it can’t your disk is failing.
Check RAM and RAM Voltage
If you are using multiple RAM sticks, you need to make sure they are compatible. In short, they need to have the same frequency. It’s best to use RAMs from the same manufacturer. Otherwise, make sure to check for such compatibility. Moreover, if the RAM voltage is too high, it can cause BSOD crashes, or worse, can even damage the RAM. Like CPU and GPU, it is also possible to overclock RAM, which is called the Extreme Memory Profile (XMP) instead of overclocking. You can use it to raise the RAM voltage a little bit. However, if you set an improper configuration of the voltage, it leads to this error. So, check how much voltage your RAM needs from the manufacturer’s website and confirm how much it is actually getting using third-party tools like CPU-z. Then, lower it to a reasonable limit if necessary.
Run Memory Diagnostics
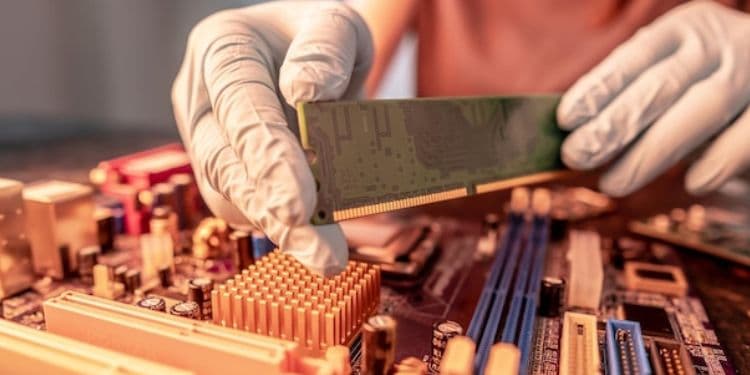
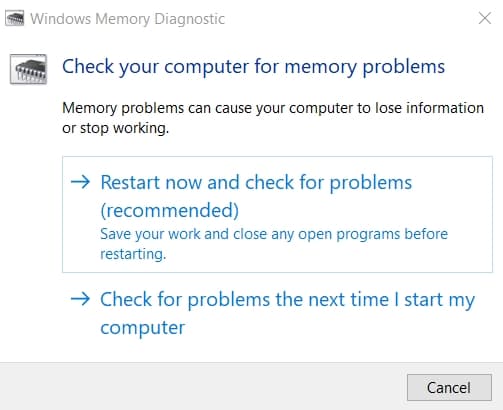
Defective RAMs are also the main cause of NMI hardware failure error. So, you need to check if there are any issues with the devices. You can use the Windows Memory Diagnostics app to do so. Here’s how you can use it: The app starts running after the reboot and your system restarts once again after the process completes. Then, it displays the result of the test.
If the result shows any errors, it indicates issues with the RAM stick or the RAM slot. First, check if the RAMs are seated properly.If you have multiple RAM sticks, you should narrow down the defective device by running the diagnostic program again while only connecting one RAM to your PC (for each RAM).After determining that a RAM stick or slot has gone bad, you need to replace the device.
If you aren’t confident in doing so yourself, we recommend seeking help from a skilled technician to check for the defective RAM or replace it.
Disable Overclocking
Overclocking (OC) your CPU or GPU beyond the handling capacity of your system and the devices can cause many BSOD errors and other crashes. The NMI Hardware Failure error is also one such system crash. We recommend you disable overclocking and check if the issue occurs again. If you used a third-party software, you can disable OC from the app or uninstall it. However, if you changed your BIOS settings to overclock your system, the easiest way to disable it is to reset your BIOS. You can do so from your BIOS/UEFI settings or by removing and reinserting the CMOS battery.
Disable Early Launch Anti-Malware Protection
The Early Launch Anti-malware Protection feature protects your system from threats that can run at startup. It checks your device drivers to search for such threats. If you are using devices with unsigned drivers, it decides their drivers are problematic, resulting in this BSOD. So, if you encounter the error during startup, you can use the following steps to disable this feature:
Change x2APIC Policy
You may also encounter this error if you are installing newer hardware on an older system. It happens because the Extended Advanced Programmable Interrupt Controller (x2APCI) could not support the device. In such a scenario, you need to disable it to allow your processor to use the legacy APCI mode. To do so, However, if you are installing a new device, it should be compatible with your OS, so you should not disable this policy.
Analyze MiniDump File
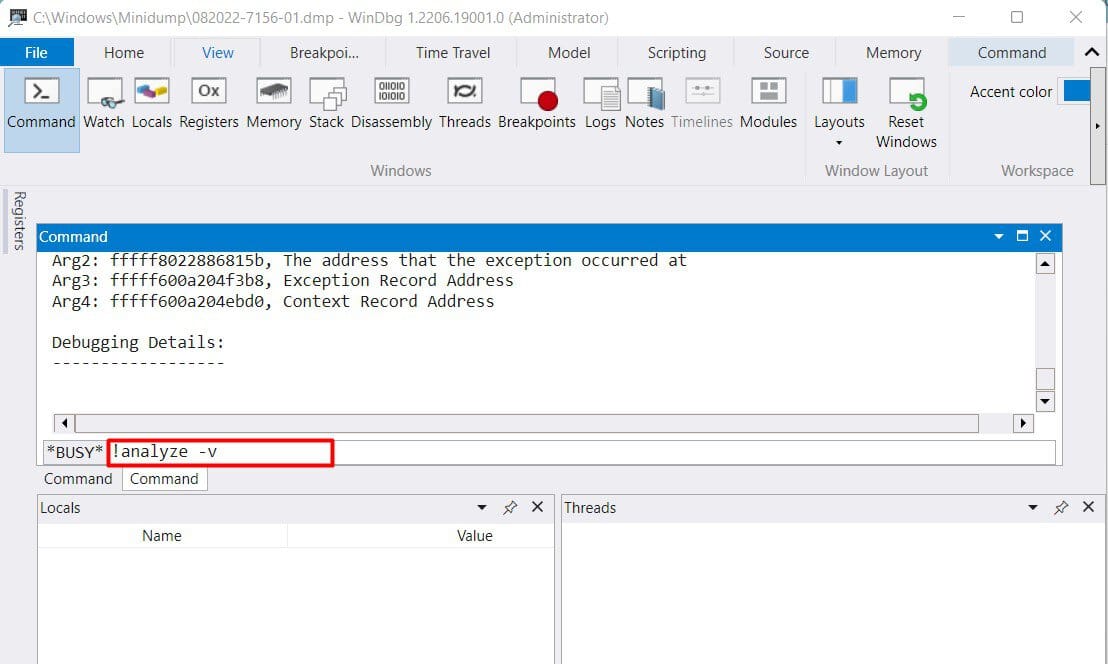
BSOD crashes create minidumps or crash dumps if the relevant setting is enabled in your system. You can analyze such files with a debugger to get detailed information on the crash and determine the responsible component. To do so, After the process finishes, look for MODULE_NAME and probably caused by to determine the component that caused the issue and the potential reason. If you can’t find the dump file, It usually points to a driver by giving its technical name .sys. You can search the internet for this software to find out its common name. Then, try updating the driver or rolling it back if no later versions are available. If the minidump file doesn’t provide much useful information, you can run the driver verifier. It stresses the drivers and causes the faulty ones to fail and cause a crash. You can analyze the minidump file for this crash to determine this driver.
Update BIOS/Firmware
BIOS or Firmware incompatibility is responsible for many issues with your hardware devices, especially if any components are newly installed. In such cases, you need to check whether your BIOS supports the device and update it if it doesn’t. Follow the instructions below to check this information and update your BIOS: The exact process to update the BIOS/UEFI depends on the Processor. Navigate through the menus to find out the way, or get in touch with support personnel if you’re unable to.
Replace Device
If you successfully narrowed down the fault to a device and the previous methods were not useful in resolving the issue, the device has likely become defective. As such, you should take your PC or the device to a hardware expert for repair or replacement.
