If you use Word a lot, chances are there are phrases, blocks of text, or graphics that you use frequently. Word’s AutoCorrect and AutoText features are made to help you insert those repetitive entries quickly, saving you time. Examples might be adding your signature at the end of a letter or inserting boilerplate language into documents like contracts or requests for proposals.
The Difference Between AutoCorrect and AutoText
In Microsoft Word, AutoCorrect allows you to create reusable text snippets—up to 255 characters. Those snippets are then available to you not only in Word but in all your Office apps like Outlook and PowerPoint, too. AutoText, on the other hand, is much more robust. It’s made to control much larger blocks of text. AutoText entries that you create are saved with your Word template and are not available in the other Office apps you use. Both AutoCorrect and AutoText are available in the desktop and online versions of Microsoft Word.
How to Create and Use AutoCorrect
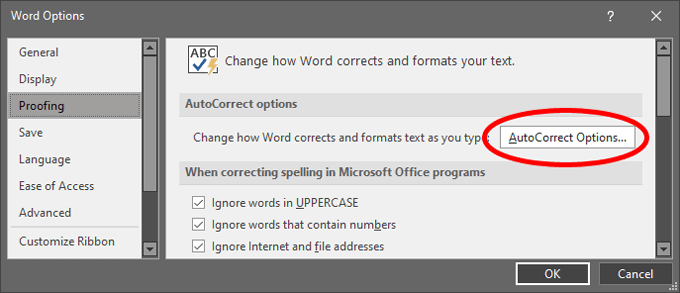
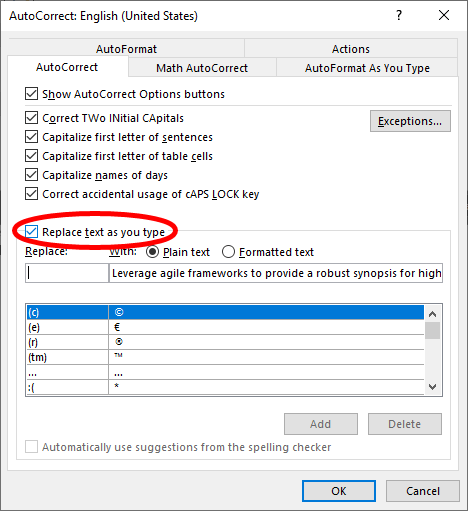
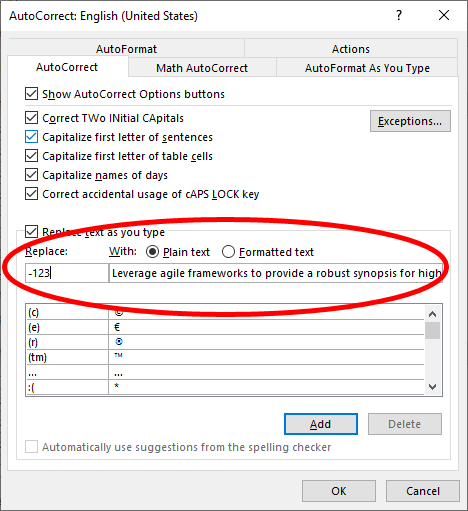
To configure and use an AutoCorrect entry, open a document with text you want to convert into a reusable snippet. In the example below, we’re configuring AutoCorrect to insert a short block of text when we type -123.
Using an AutoCorrect Entry
Now, to use the AutoCorrect entry you created by following the steps above, just type -123 into your Word document, and those characters will be replaced with the block of text you selected in Step 1.
How to Create and Use AutoText
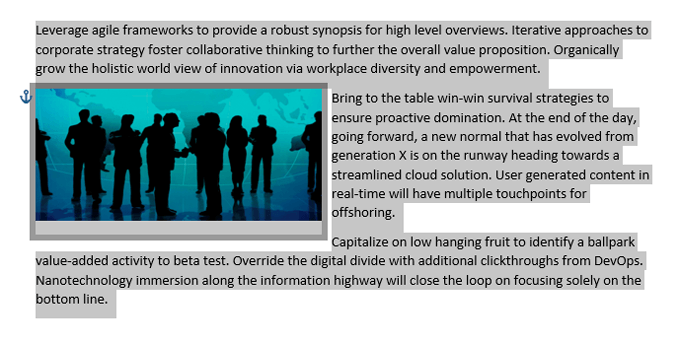
If you want to automatically insert blocks of text that are longer than 255 characters or that include images, use AutoText instead of AutoCorrect.
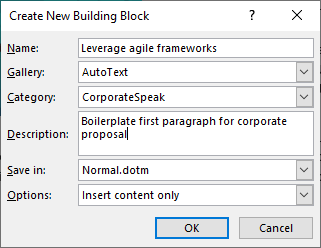
Creating a New AutoText Entry
Again, begin by opening a document that has the text you want to make into a reusable snippet.
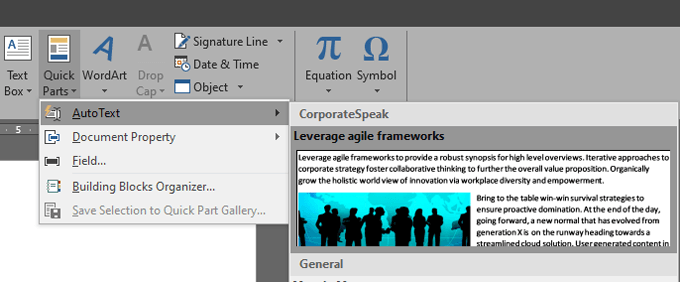
Using a Microsoft Word AutoText Entry
Now, to use the AutoText entry you just created, follow these steps.
Using an AutoText Entry via AutoCorrect
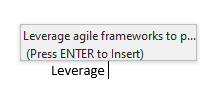
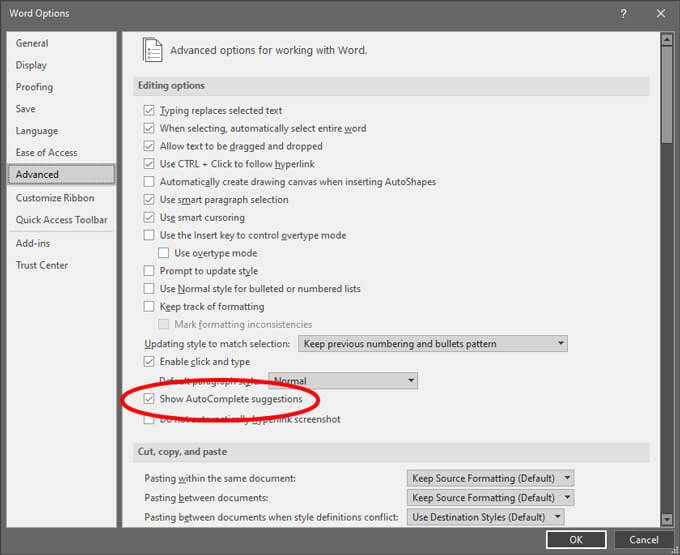
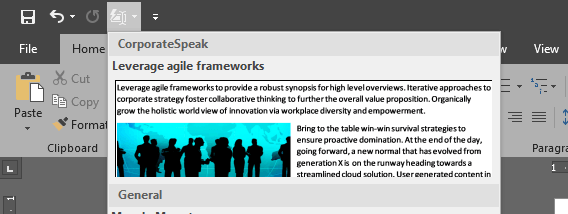
Alternatively, you can insert the AutoText entry you created by typing the name of the entry. This method is essentially using the AutoCorrect functionality. For example, using the AutoText entry above, you could begin to type “Leverage agile frameworks,” and you’ll see a tooltip appear that says, “(Press ENTER to insert).” When you press Enter, the full AutoText block will be inserted into your document. If you don’t see the “(Press ENTER to insert)” tooltip, you’ll need to enable Show AutoComplete Suggestions. You can do that by going to File > Options > Advanced and check the box next to Show AutoComplete Suggestions.
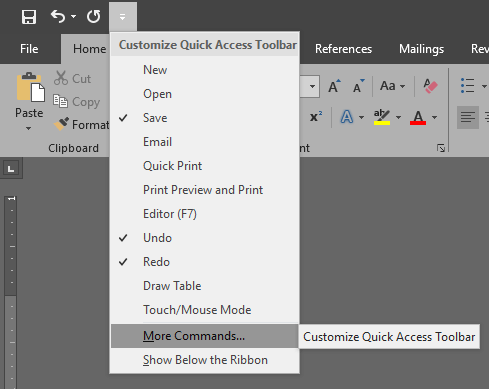
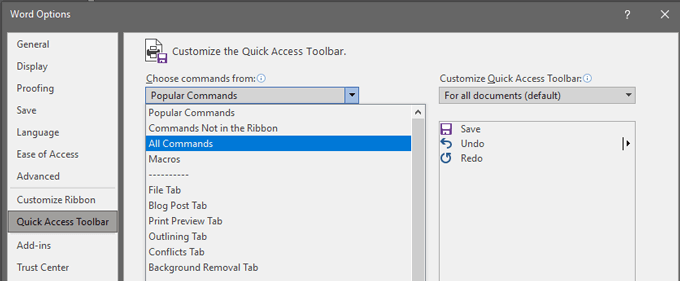
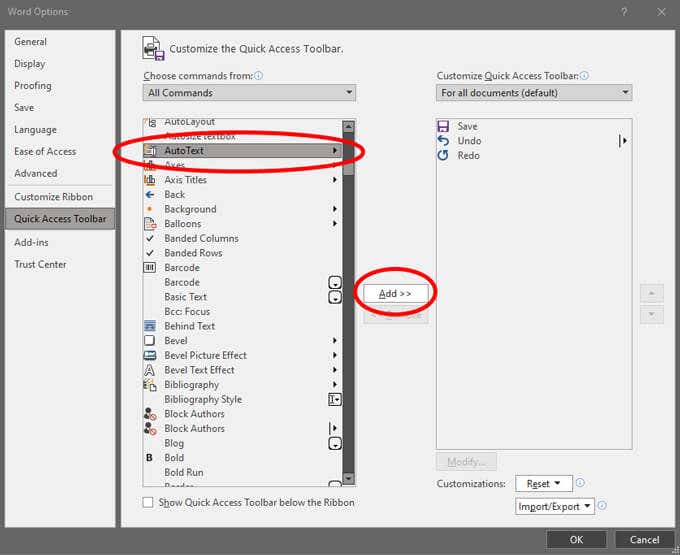
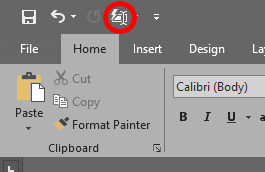
Adding an AutoText Entry to the Quick Access Toolbar
If you want to cut down on the number of actions you must take to insert the Microsoft Word AutoText, you can add the entry to the Quick Access toolbar.
Using an AutoText Entry Via a Shortcut
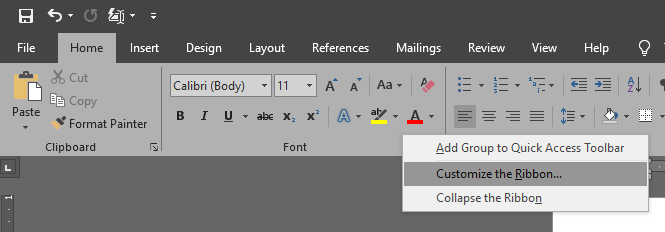
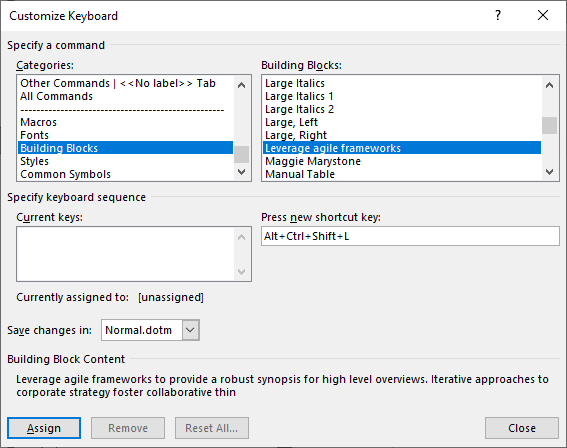
Another way to insert an AutoText entry is by creating a keyboard shortcut.
Be Smarter and Faster with the Tricks You Learned
Even if you’re not truly a detail-oriented person, the tips above will make it seem like you are! You’ll save time and make fewer errors as you compose a Word document if you avail yourself of these features. If you like, take it one step further and create some macros in Word for any series of actions you take repeatedly.