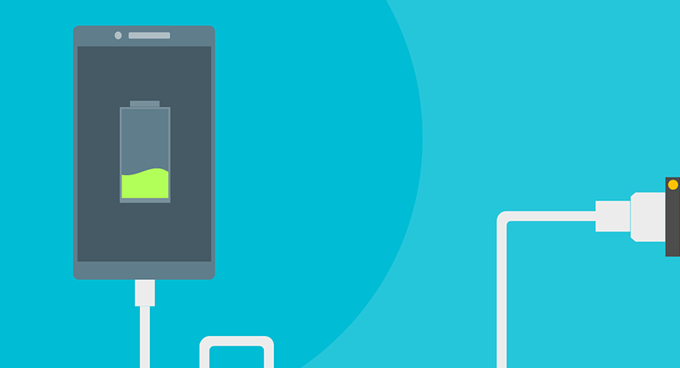
In this post, you’ll learn how to properly calibrate the battery of your Samsung Galaxy S10, Google Pixel, or whatever Android phone you have.
Inspect
the Battery
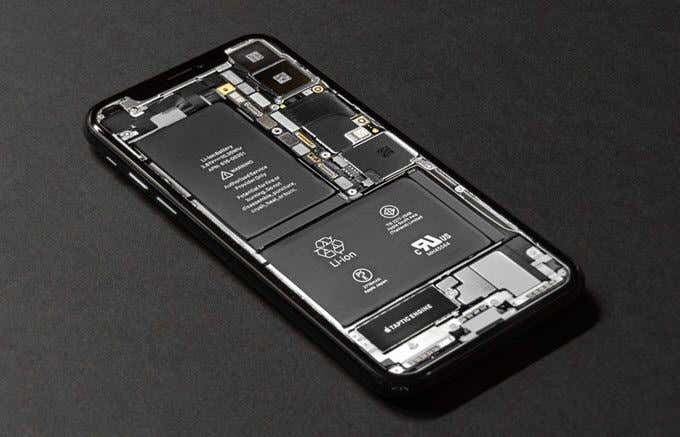
Before calibrating the battery, you would want to inspect the battery first. Remove the back panel of your phone to reveal the battery. Remove it from its slot and search for signs of deterioration like bulging or leaks. If the battery will not sit flush in its slot anymore, it’s time to consider buying a new one. There are different third-party battery sellers in the market. However, it’s recommended that you stick with your phone manufacturer and buy an original. There are third-party products that fail to live up to expectations. Calibrating a broken battery would be a waste of time. Note: While you’re at it, take a look at the charging port and cables. If it’s damaged, it could be causing your phone to not charge at full capacity.
The
Negative Effects of Draining the Battery
The process of calibrating your phone’s battery requires you to drain it completely. While it’s a necessary step, this process shortens a battery’s lifespan if done frequently. Fully draining your battery should not be a long-term solution. Batteries are not meant to be drained to zero. Your Android device has measures in place to prevent that from happening. But the calibration process will have you force Android to fully deplete the battery. Some users, however, state that calibration can be attempted every three months if needed.
How
to Calibrate Android Phone Battery
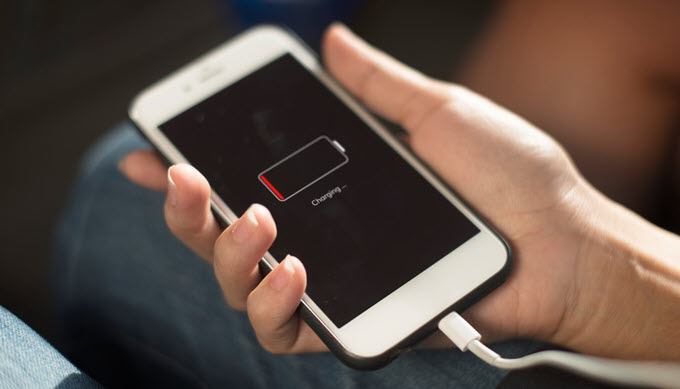
Use your phone as normal until the battery runs out and the phone turns itself off. Afterward, turn it on and let the phone shut itself off again. Do this until the phone will not turn on anymore. Now, without turning it on, plug your phone into a charger and keep it plugged in until the battery level indicator says it’s 100% full. Remove the charger and turn the phone on. At this point, the battery indicator might contradict itself and say that the phone’s not fully charged. If this happens, just plug the charger back in. This time, keep the phone on. Once it gets to 100%, go ahead and unplug the charger and then restart the phone. Repeat the process until the phone shows it’s fully charged after reboot. Once done, drain the battery once more until it shuts off completely. Then charge it right back up to full capacity. If done right, this should calibrate your phone’s battery icon and correct the display on your Android device. Note: This process should also work for tablet battery calibration.
Root
Access
Calibrating the battery through root access also requires that the battery be drained. Only this time, you’ll be clearing a file called batterystats.bin in the process. This method, however, isn’t recommended by some users because it requires that you download a third-party app. An argument can also be made that removing the said file doesn’t really do anything. You’d be much better off draining your battery and calibrating your battery without root access.