However, when your device has issues connecting to the Windows system, you get the “iTunes could not connect to this iPhone. An unknown error occurred” with the bug check code 0xE800000A. When the error pops up, you can neither back up nor sync your device to Windows. Also, the device doesn’t show up on iTunes. As the error speaks for itself, there isn’t any particular reason why it failed to connect or where it’s having problems. Sometimes your devices could be acting up erratically for a moment due to a minor glitch. Besides that, the source of error could be the cables, the iTunes app, or the Windows system you are connected to.
How to Fix iTunes Error 0xE800000A on Windows?
Since your mobile device needs to grant permission to access it from the computer, make sure you unlock your phone while connecting. Also, tap the Trust option when prompted on the phone. Likewise, disconnect your iPhone and exit the iTunes app before applying the following fixes.
Check if iPhone is Connected Properly
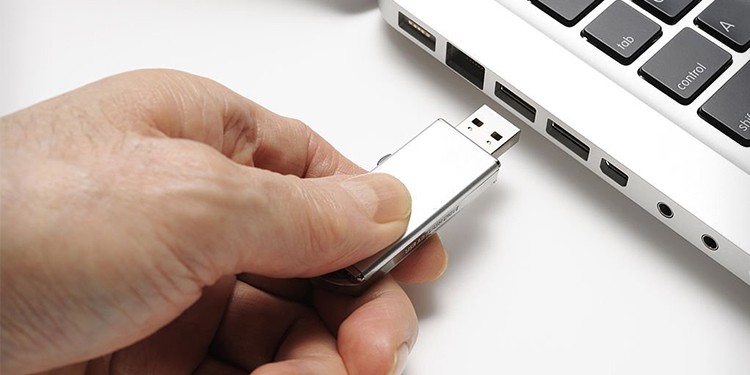
The above error mostly occurs when your iOS device (iPhone, iPod or iPad) has a problem connecting to the iTunes application on your Windows system. Therefore, connect the lightning cable to a different system and check if it is working fine. On the other hand, try switching the USB port when connecting the iPhone. And if you are using a USB hub, connect the device directly to the device’s USB port. Also, disconnect any other additional devices connected to your PC and make sure your PC is connected to only the iPhone.
Rename the Lockdown Folder
For each iOS device you connect to a particular computer, a lockdown folder is created automatically for each one on the PC. These folders contain lockdown certificates that store unique UDID data to know which data to sync for a particular iOS device. So, if you connect multiple iOS devices to your PC, several of those folders exist in your system. And sometimes, they get corrupt, due to which you have issues connecting the device and may receive the 0xE800000A error. To resolve the error, you can rename the lockdown folder so that a new one is created when you connect your iOS device.
Restart Apple Mobile Device Service
The Apple Mobile Device Service is a Windows service that runs in the background. It helps to detect and connect any iOS device on a Windows system. If it’s not enabled or not working well, you can face issues while connecting your iOS device to Windows. Therefore, you need to re-enable it and restart the service again to fix your issue. Here’s how you can do it.
Allow iTunes to Run on Your Firewall
When you connect your iPhone to a Windows system, it needs to run several processes in the background to perform various tasks. For example, the iPodService.exe process provides access to iTunes while connecting your iPhone and AppleMobileSync.exe helps sync your device with the PC. Similarly, several other processes need to be executed, and sometimes your security software blocks them after misinterpreting them as malicious threats. On Windows, the Windows Defender firewall, by default, scans for potential threats on your system unless you have installed another third-party antivirus/firewall. So, to resolve your issue, you have to disable the firewall. However, it isn’t safe, as you could be vulnerable to viruses and malware. A better option is to allow iTunes in the firewall.
Update the iTunes Application
Using an older version of iTunes is one of the main reasons the above error can occur. The older version of the app is likely incompatible with your system or contains bugs. Therefore, update the app to avoid such issues. Additionally, enable automatic updates on iTunes to avoid the need to update manually over time. You can do it as follows.
Update Your System and Device
Either your system or the device is likely incompatible with each other’s versions, causing conflict. So, consider updating both of them to get rid of the error message. Here’re the steps to Update Windows: Here’re the steps to Update iPhone:
Reinstall iTunes
If the issue persists, reinstalling is the last option to resolve your issue. Doing so replaces any corrupt data or bugs on your current iTunes app and replaces them with a fresh copy of the latest iTunes application. Here’re the steps to uninstall iTunes from the control panel. After you complete the uninstallation process, browse the iTunes official site. Then, download and install the latest version for your Windows system.